Your Grandparents Deserve Better Than a Faded, Scratched-Up Photo
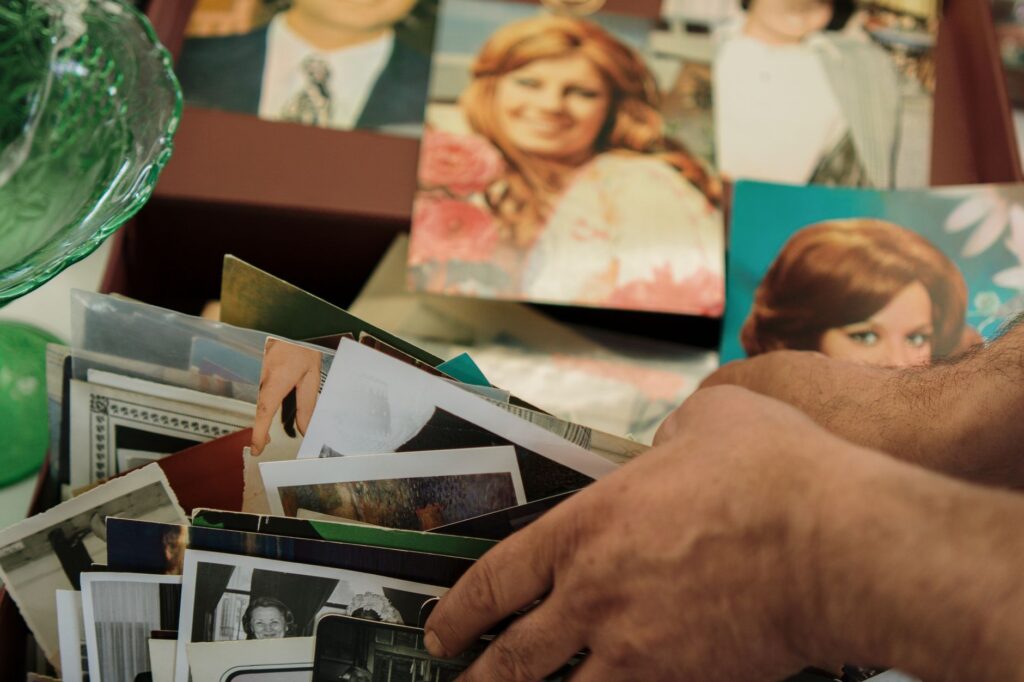
That old photo sitting in a shoebox, creased down the middle and spotted with age, doesn’t have to stay that way. AI photo restoration has gotten so good that you can take a wrecked, water-damaged image from 1952 and turn it into something you’d actually want to frame.
This isn’t about Photoshop skills or hours of manual retouching. Modern AI tools do the heavy lifting. You upload a photo, the algorithm analyzes it, and it rebuilds what’s missing based on patterns it’s learned from millions of images. The results aren’t always perfect, but they’re often remarkable. Let’s break down exactly how to use these tools, which ones are worth your time, and what to expect when you’re working with damaged originals.
What Actually Happens When AI Restores a Photo
Before jumping into the tools, it helps to understand what you’re working with. When you use AI to restore old photos, you’re not just running a filter. The model has been trained on huge datasets of high-quality and damaged image pairs, so it learns how to predict what a photo should look like when parts of it are missing, blurry, or degraded.
The process typically involves a few different tasks happening simultaneously. Scratch and crack removal works by detecting irregular patterns that don’t match the expected image structure. Noise reduction clears up the grain and speckle that film photos accumulate over time. Sharpening algorithms identify edges and rebuild them without just artificially cranking up contrast. And in some tools, facial enhancement specifically targets portraits and reconstructs fine detail like eyes and skin texture.
Some tools also handle colorization, which is a separate but related process. Colorizing a black and white photo uses a different kind of model, one trained to predict plausible colors based on context. A sky gets blue, grass gets green, and skin tones follow statistical patterns from real photographs. It’s educated guessing, but surprisingly convincing.
Understanding this helps you set realistic expectations. AI restoration fills in what’s plausible, not necessarily what was actually there. If half a face is missing, the tool will reconstruct something that looks right. Whether it matches the original is another question.
The Best AI Tools for Photo Restoration Right Now
There are a lot of options out there, and they’re not all equal. Here are the ones that consistently deliver good results.
Remini
Remini is probably the most popular consumer app for enhancing photos with AI, and for good reason. It’s built around facial detail recovery, which makes it fantastic for old portrait photos. Upload a blurry, low-resolution image of a relative and it’ll often add convincing detail back to the face. It’s available on iOS and Android, so it’s accessible to anyone with a smartphone. The free version gives you limited credits per day, but the paid plan is inexpensive and removes most restrictions.
Adobe Photoshop with Neural Filters
If you already have a Creative Cloud subscription, Photoshop’s Neural Filters are worth exploring. The Photo Restoration filter is specifically designed to reduce noise, fix scratches, and recover detail. It’s not as fast as a dedicated app, but it gives you more control over the output. You can blend the restored version with the original, adjust intensity, and use all of Photoshop’s other tools for cleanup afterward. For anyone serious about old photo AI work, this combination is hard to beat.
MyHeritage Photo Enhancer
MyHeritage built its restore image AI feature directly into its genealogy platform, which makes it a natural fit for family history projects. Their in Color tool adds colorization, and their Photo Enhancer sharpens and restores detail. One standout feature is the Deep Nostalgia tool, which can animate still faces into short video clips. That last one is polarizing (some people love it, some find it unsettling), but the core restoration and enhancement is solid.
Upscayl
Upscayl is a free, open-source desktop app that uses AI to upscale and enhance photos. It’s not marketed specifically as a restoration tool, but it works well for old photos that are just small or low resolution. If you’ve scanned an old print at a low DPI, Upscayl can sharpen and enlarge it without the pixelation you’d get from a basic resize. Since it runs locally on your machine, there’s no upload limit and no subscription fee.
Hotpot AI
Hotpot offers a web-based restore image AI tool that’s simple and fast. You upload a photo, choose whether it’s colorized or black and white, and the tool processes it in seconds. It handles scratches and noise well, and the colorization option produces natural-looking results. It’s a good starting point if you just want to quickly enhance photo AI-style without committing to an app or subscription.
How to Get the Best Results Before You Even Upload
The quality of your input matters a lot. AI tools can’t conjure information that isn’t there. If you start with the best possible scan of your original photo, you’ll get significantly better output.
For physical prints, use a dedicated flatbed scanner rather than your phone camera. A scanner gives you consistent lighting, no lens distortion, and full control over resolution. Scan at a minimum of 600 DPI for standard prints, and go up to 1200 or 2400 DPI for smaller originals like wallet-size photos or photobooth strips. Higher resolution gives the AI more data to work with.
Clean the photo gently before scanning. A soft, lint-free cloth removes surface dust. Don’t use any liquids on damaged or old emulsion, since that can cause more harm than good. If the photo is stuck to glass or badly water-damaged, consider taking it to a professional conservator before attempting anything digital.
Save your scan as a TIFF or high-quality JPEG rather than a compressed format. Compression artifacts confuse AI models and can actually make the restoration worse. Work with the cleanest file you have, run it through the AI tool, and then save the output at high quality too.
Combining Multiple Tools for Better Results
No single tool does everything perfectly. The pros who do serious old photo AI work often use a pipeline of multiple applications rather than relying on just one.
A typical workflow might look like this: scan the original at high resolution, run it through Upscayl to enlarge and sharpen, then bring it into Photoshop for manual scratch removal using the Spot Healing Brush, and finally run the Neural Filters to clean up remaining noise and recover facial detail. If colorization is the goal, that happens last, either in Photoshop’s Neural Filters or a dedicated tool like Palette.fm.
The manual step in the middle is important. AI tools sometimes introduce artifacts or make strange decisions around complex areas like hair, lace, or heavily damaged sections. Taking five minutes to manually clone out obvious errors before running the final AI pass gives you much cleaner results. You don’t need to be an expert retoucher. The Spot Healing Brush in Photoshop or even the free GIMP software handles simple scratch removal with minimal skill required.
Colorization deserves its own mention here. It’s tempting to colorize everything, but restraint often produces better results. If only the face and skin tones look convincing and the background colors look guessed (because they are), sometimes keeping the image in black and white is the stronger choice. Run colorization, evaluate honestly, and don’t force it if it doesn’t look right.
What AI Still Can’t Do (And When to Call a Professional)
AI restoration has real limits. If a photo is so badly damaged that large portions of the image are simply gone, no algorithm is going to reconstruct the actual content accurately. It’ll fill something in, but it won’t be what was there. Missing faces, torn-off sections, or severe mold damage that’s eaten through the emulsion are cases where the tool is essentially inventing rather than restoring.
Roughly 30 to 40 percent of severely damaged photos that get uploaded to AI tools end up with obvious artifacts or anatomically strange faces. The tool tries its best, but it’s extrapolating from very little information. In those cases, a professional photo retoucher with strong Photoshop skills will produce better results than any automated tool.
Professional restoration services typically charge anywhere from $30 to $200 per photo depending on the level of damage and complexity. That’s a meaningful cost for a single image, but for truly irreplaceable photographs, it’s often worth it. Some services specialize specifically in genealogical and archival work, so they understand the importance of accuracy over creative interpretation.
Physical conservation is a separate consideration. If you have deteriorating originals (not just photos but also slides, negatives, or daguerreotypes), digitization before further deterioration is urgent. The Library of Congress recommends digitizing vulnerable materials proactively rather than waiting until damage becomes worse. AI can help with the digital file afterward, but it can’t undo physical decay.
Start With One Photo and Build From There
Pick one damaged photo from your collection. Something with sentimental value, not a random snapshot. Scan it properly, upload it to Remini or Hotpot, and see what comes back. You’ll learn more about what these tools can do from one hands-on attempt than from reading about it. If the result impresses you, explore the pipeline approach with multiple tools. If it falls short, consider whether manual retouching or a professional service makes more sense for that particular image.
The technology is genuinely good now, and it keeps getting better. Photos that would have required hours of skilled manual work five years ago can be improved significantly in minutes today. Your family’s history is worth preserving. These tools make that more achievable than ever, so there’s no reason to leave those shoeboxes untouched any longer.