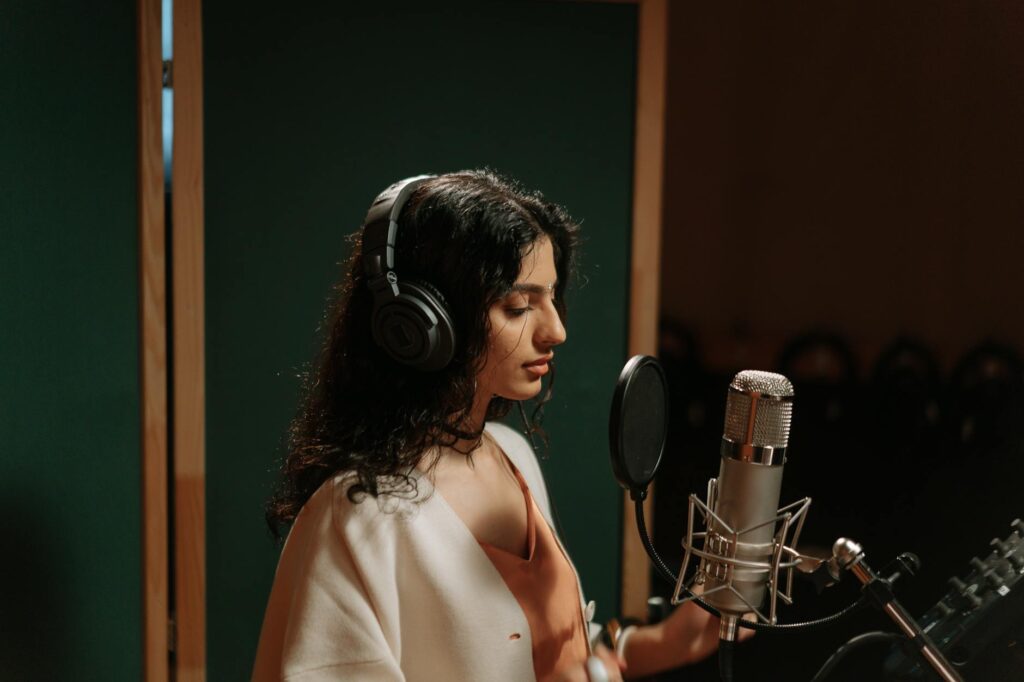
Silent footage is dead footage. Whether you’re editing a short film, a YouTube video, a social media reel, or a product demo, sound design separates amateur work from professional work more reliably than almost any other element. The good news is that AI has fundamentally changed who gets to do this well.
For years, proper video sound ai work required expensive software like Pro Tools, a library of high-quality samples, and hours of manual syncing. Foley artists spent entire careers perfecting the craft of making footsteps sound right on gravel versus hardwood. Now, AI tools can analyze your footage, suggest matching sounds, and even generate entirely new audio that fits the visual context. That doesn’t mean anyone can replace a seasoned sound designer overnight, but it does mean that a solo creator or small production team can produce results that would have been out of reach five years ago.
This guide walks through exactly how to do that, from understanding what AI sound design actually does to the specific tools and workflows you should be using right now.
What AI Sound Design Actually Does (and Doesn’t Do)
Before picking up any tool, it helps to understand what you’re working with. AI sound design video tools generally fall into three categories: sound matching, sound generation, and audio enhancement.
Sound matching tools analyze the visual content of your video and recommend or automatically apply sounds from a library. These systems use computer vision to detect things like motion, objects, environments, and actions, then pull from a database to find appropriate audio. Think of a bird landing on a branch and the tool automatically suggesting a wing flutter and a light landing impact.
Sound generation is newer and more impressive. Tools in this space use generative AI models trained on massive audio datasets to create sounds from scratch based on text prompts or visual context. You describe what you need (“gravel footsteps at medium pace in light rain”) and the model produces a wav file that closely matches. ElevenLabs’ audio generation, Adobe’s Project Sound Lift, and tools like Stability AI’s audio models are all pushing into this space aggressively.
Audio enhancement tools, by contrast, don’t generate new sounds but improve what’s already there. They use AI to remove background noise, fix frequency imbalances, or even up-sample low-quality audio to sound richer and more defined. These are useful for dialogue and location audio but less central to creative sound design work.
Understanding the difference matters because you’ll likely use all three types together in a real project.
The Best AI Tools for Video Sound Design Right Now
The landscape changes fast, but several tools have proven genuinely useful for adding ai audio video design to real productions. Here’s where to focus your attention.
ElevenLabs Sound Effects
ElevenLabs expanded beyond voice cloning into sound effect generation, and it’s surprisingly capable. You type a text description, and the model returns a short audio clip. The quality varies, but for ambient textures, environmental sounds, and action effects, it’s often good enough to use directly in a mix. It’s particularly strong on things like weather, fire, water, and crowds. It’s weaker on highly mechanical or musical sounds, but those aren’t usually what video editors need most.
Adobe Premiere Pro with Generative Audio
Adobe has been integrating AI deeply into Premiere Pro through its Sensei engine and newer Firefly-adjacent audio features. The speech enhancement and noise removal features are best-in-class. For sound design specifically, Adobe’s auto-ducking and intelligent audio remixing features save significant time, and newer beta features allow prompt-based audio generation directly inside the timeline. If you’re already in the Adobe ecosystem, this is your most seamless path to ai sound design video work.
Soundly with AI Search
Soundly is a professional sound effects platform that has integrated AI-powered search into its library of millions of sounds. Instead of typing exact file names, you describe what you need in natural language and the system returns relevant results with surprisingly high accuracy. It’s not generative, but it’s a smart layer on top of a deep library, and for many use cases, a well-matched existing sound beats a generated one.
Runway and Pika for Scene-Aware Audio
Both Runway and Pika have added audio generation features tied to video content. Upload a clip, and the model attempts to generate sound that matches the visual events in the scene. This scene-aware approach to add sounds ai video is still maturing, but Pika in particular has shown real promise with action-heavy clips. Neither tool produces broadcast-ready audio on its own, but as a starting point or a source for layers in a mix, they’re genuinely useful.
Krisp and Adobe Podcast for Enhancement
For cleaning up dialogue and location audio, Krisp and Adobe Podcast (now Adobe Enhance Speech) use machine learning to isolate voice and strip everything else. These won’t help you build an ambient soundscape, but they’re essential before you start layering new sounds. Clean dialogue is the foundation everything else sits on.
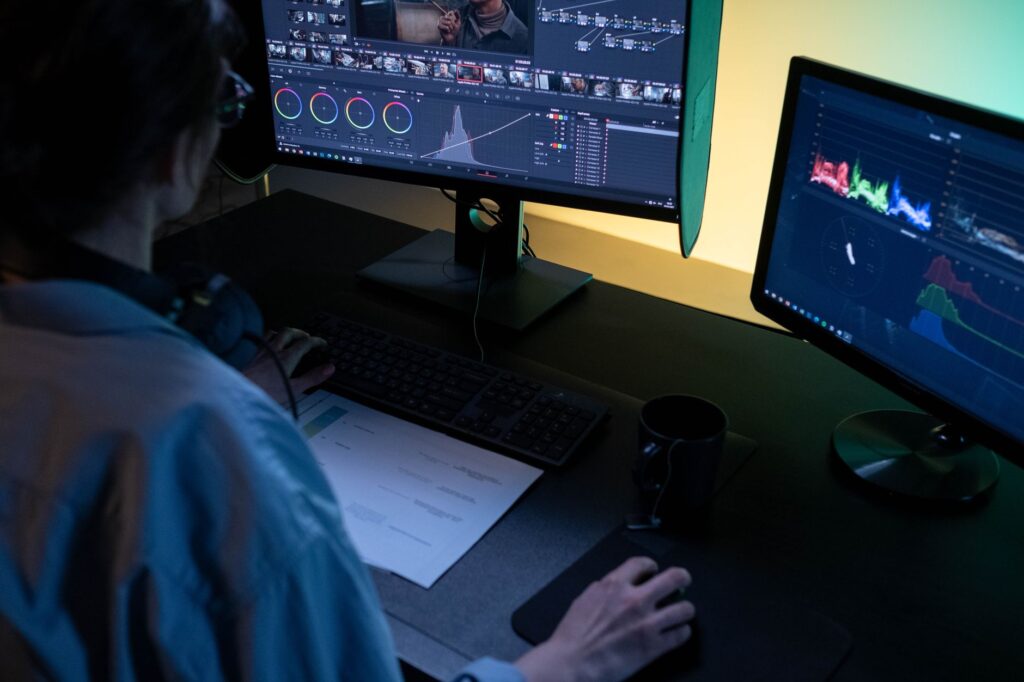
Building a Realistic Sound Design Workflow from Scratch
Having good tools doesn’t automatically produce good results. The workflow matters as much as the software. Here’s a practical approach to building realistic sound ai results on a real project.
Step 1: Strip and Clean Your Original Audio
Start by removing everything you don’t want. Run your location audio through Adobe Enhance Speech or Krisp to isolate dialogue. Export clean stems. You’re not trying to salvage the ambient noise from your shoot, you’re starting fresh with designed audio.
Step 2: Identify the Sound Events in Your Footage
Watch your video with the sound off and make a list. Every physical event that should produce sound is a sound event: footsteps, door openings, impact, ambient environment, weather, crowd. Don’t just note the obvious ones. A character picking up a glass, a chair scraping the floor, fabric rustling during movement, all of these add up to the texture that makes audio feel real rather than assembled.
Roughly 70% of what makes a sound design feel professional comes from these small secondary sounds that most beginners skip entirely. The foley tradition exists precisely because filmmakers learned that capturing these incidental sounds in post is what creates presence and believability.
Step 3: Build Your Ambient Bed First
Before you place individual sound effects, establish the environment. If your scene takes place in a kitchen, you want a low, constant layer of refrigerator hum, distant traffic, maybe a faint exhaust fan. If it’s an outdoor forest scene, layered bird calls, light wind through leaves, distant water movement. Use Soundly’s AI search to find matching room tones and ambiences, or generate them with ElevenLabs using descriptive prompts.
This ambient bed does critical psychological work. It makes the viewer feel located in a space before any specific action happens, which means individual sound effects land more naturally when they arrive.
Step 4: Place Hard Effects and Sync Them Precisely
Hard effects are the specific sounds tied directly to visible actions. A fist hitting a table, a car door closing, glass breaking. These need to sync within a few frames of the visual event or they’ll feel wrong immediately, even to untrained ears. The human auditory system is very sensitive to audio-visual sync offsets, particularly for sharp impact sounds.
Use your timeline’s waveform view to snap your effect to the exact frame. Don’t rely on visual placement alone. For generated sounds from ElevenLabs or Pika, you may need to trim the lead-in time before the transient to get the sync right. Build this habit from the start.
Step 5: Layer for Depth, Not Volume
A single sound effect almost never sounds professional. Real-world sounds are composites. A punch in a film typically has three to five layers: a raw impact, a low-frequency thud, maybe a slight whoosh from the arm movement, potentially a cloth rustle, and a light skin contact sound. Each layer is quiet on its own. Together they feel dense and physical.
When you use AI to add sounds to your video, generate or search for multiple variations of the same sound type and layer two or three of them at slightly different volumes and timing offsets. This variation is what separates generated audio that sounds synthetic from generated audio that sounds real.
Step 6: EQ and Pan to Create Space
Once your layers are in place, EQ each one to carve out its own frequency space. Your ambient bed should sit in the low-mids. Hard effects can have more high-frequency presence. Dialogue owns the midrange. Panning effects to match where they originate on screen (footsteps on the left as a character walks left to right) adds spatial realism that mono placement can’t match.
Many AI tools provide sounds as flat mono files. Don’t leave them that way. A little reverb matched to your environment, some subtle room tone convolution, and careful panning takes a generated sound from sounding like a sound effect to sounding like something that actually happened in that space.
Common Mistakes That Kill Realistic AI Audio
Even with good tools and a solid workflow, a few specific mistakes tend to undermine otherwise careful work. Watch for these.
- Over-relying on a single AI-generated file: One generated footstep repeated on every step sounds robotic. Use at least two or three variations and randomize their placement slightly.
- Ignoring room acoustics: A sound generated in isolation sounds dry. Every space has a character. Add reverb that matches your shooting environment.
- Skipping secondary sounds: The difference between “okay” and “excellent” is almost always the small sounds, not the big ones.
- Generating without listening critically: AI tools produce inconsistent results. Always listen to every generated file before placing it. Some will be unusable.
- Forgetting dynamic range: Real environments aren’t uniformly loud. Let quiet moments be quiet. Don’t compress everything to the same level.
Where AI Sound Design Is Heading
The trajectory is clear: scene-aware audio generation is getting better every six months. Within two years, uploading a video and receiving a fully composed sound design as a starting point will be routine. Tools like Runway and Pika are already doing early versions of this, and as training data and model architecture improve, the results will become more reliable and more detailed.
That doesn’t mean the skill of sound design becomes irrelevant. It means the floor for acceptable quality rises, and the editors who understand what makes audio feel real will have a genuine advantage in using these tools effectively. The AI handles generation. The human handles judgment.
Start with one real project. Pick a short video you’ve already shot, apply the workflow above using a combination of ElevenLabs for generation, Soundly for library matching, and Adobe for enhancement, and compare the result to what you’d have done manually. The gap will tell you exactly where AI sound design fits into your process, and once you see it working, you won’t go back to bare timelines again.