From Blank Screen to AI-Generated Video in Minutes
The first time you watch a video you created dissolve into existence from nothing but a text prompt, something clicks. Runway makes that moment happen faster than almost any other tool on the market right now.
Runway ML has become one of the most talked-about platforms in the AI video space, and for good reason. It’s not just a novelty toy for tech enthusiasts. Filmmakers, marketers, YouTubers, and social media creators are using runway ai video features to produce content that would have required a full production crew just five years ago. This guide walks you through exactly how to use Runway AI, from setting up your account to exporting polished clips you’re actually proud of.
What Runway Actually Is (and What It Isn’t)
Before diving into the how-to, it helps to understand what you’re working with. Runway is a cloud-based creative platform built around generative AI. Its flagship feature, Gen-2 (and more recently Gen-3 Alpha), lets you generate video clips from text descriptions, still images, or existing video footage. You’re not editing pre-shot footage in some fancy filter app. You’re literally creating motion from scratch.
That said, Runway isn’t a full video production suite like Adobe Premiere or DaVinci Resolve. Think of it as a content generation engine that feeds into your existing workflow. The clips it produces are typically short, ranging from four to sixteen seconds depending on your settings and plan, so you’ll often combine multiple generations to build a longer piece.
It’s also worth being honest about the current limitations. Hands and faces can still look slightly off in certain generations. Fast motion sometimes gets muddy. But the technology is improving at a genuinely staggering pace, and for atmospheric footage, abstract visuals, product showcases, and cinematic B-roll, it already delivers results that turn heads.
Setting Up Your Runway Account the Right Way
Head to runwayml.com and create a free account. The free tier gives you 125 credits to start, which is enough to experiment and get a real feel for the platform before committing to a paid plan. Credits are the currency of Runway: generating a four-second clip at standard quality costs around five credits, while higher-quality or longer generations draw more.
Once you’re in, spend ten minutes clicking through the interface before generating anything. Runway’s dashboard organizes your projects, assets, and generation history in a relatively clean layout. You’ll see options for Text to Video, Image to Video, Video to Video, and several other tools including background removal, motion tracking, and AI-assisted color grading. Don’t get overwhelmed. For this runway video guide, we’re focusing on the core generation tools that most creators use daily.
Upgrade to a Standard or Pro plan if you’re planning to use this for actual content production. The Standard plan runs around $15 per month and gives you 625 credits monthly plus access to Gen-3 Alpha. Pro bumps you to 2,250 credits and unlocks higher resolution outputs. For most solo creators, Standard is a smart starting point.
Your First Text-to-Video Generation: A Step-by-Step Walkthrough
Click on “Text to Video” from the main dashboard. You’ll land on a clean generation screen with a prompt input box at the center. This is where the magic, and honestly a lot of the skill, lives.
Type your prompt into the box. Let’s say you want a cinematic shot of a lone lighthouse at dusk. Don’t just write “lighthouse at sunset.” Write something closer to: “Cinematic wide shot of a weathered stone lighthouse on a rocky coast, golden hour light, ocean waves crashing gently, slow camera pull back, filmic grain, moody atmosphere.” Specificity is everything. Runway responds to visual language the way a skilled director of photography would. Describe the shot, the lighting, the movement, and the mood.
Once your prompt is in, you’ll see options for duration (typically four or eight seconds), resolution, and in some versions, a style preset. Choose your settings and hit Generate. The process usually takes anywhere from thirty seconds to two minutes depending on server load. When your clip renders, it’ll appear in your asset library and play automatically in the preview window.
Watch it through twice before deciding whether to keep it or try again. The first generation rarely nails it perfectly. Adjust your prompt, add more specific camera movement descriptions like “slow dolly in” or “aerial descent,” and regenerate. Most experienced users run three to five generations before settling on a clip they love. That’s normal, and it’s part of the process.
Using Image-to-Video for More Controlled Results
Here’s a workflow tip that separates casual users from creators who actually rely on Runway: start with an image, not just text. The Image to Video feature lets you upload a still image and then describe the motion you want applied to it. This gives you far more compositional control because you’re deciding exactly what the starting frame looks like.
You can generate your starting image in Midjourney, Adobe Firefly, or even Runway’s own image generation tools. Get the lighting, composition, and subject looking exactly how you want them, then bring that image into Runway and add life to it. Write a motion prompt like “gentle camera drift to the right, leaves rustling softly, clouds moving slowly overhead.” The result is often dramatically more usable than a pure text generation because the visual foundation is already locked in.
This image-to-video approach is particularly powerful for product videos. Shoot or render a clean product photo, import it into Runway, and animate it with subtle motion. A perfume bottle rotating slightly with bokeh lights drifting in the background looks infinitely more polished than a static image on social media, and it takes about ten minutes to produce.
The Prompt Techniques That Actually Work
Prompting for video is different from prompting for images, and most people underestimate how much the camera direction component matters. Think like a cinematographer when you use Runway AI.
A few techniques that consistently produce better results:
- Lead with the shot type. Start your prompt with the camera framing: close-up, wide shot, overhead drone shot, tracking shot. Runway picks up on these cues reliably.
- Describe motion explicitly. Runway doesn’t invent interesting camera movement on its own unless you tell it what you want. “Slow push in toward the subject” or “handheld slightly shaky movement” both produce distinct results.
- Include lighting and atmosphere. “Foggy morning light,” “neon-lit rainy street,” and “golden hour backlight” all dramatically shape the mood of the output.
- Reference cinematic styles. Phrases like “shot on 35mm film,” “shallow depth of field,” or “in the style of a nature documentary” steer the aesthetic toward something intentional.
- Use negative prompting where available. In some Runway versions, you can specify what you don’t want. “No text, no watermarks, no camera shake” can clean up generations that keep producing unwanted artifacts.
Keep a running document of prompts that worked well for you. Seriously. After your third or fourth session, you’ll start noticing patterns in what the model responds to, and having a personal prompt library speeds up your workflow enormously.
Combining Clips Into a Cohesive Video
This is where the real craft in create video runway AI workflows shows up. Individual generations are just raw material. The finished video is built in post.
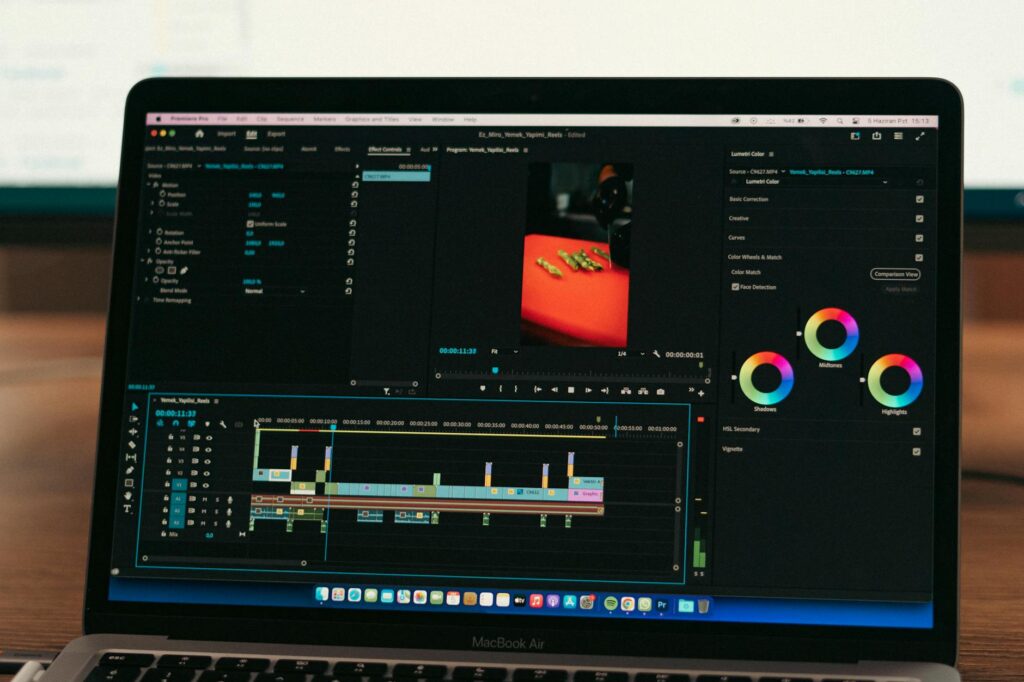
Export your best clips directly from Runway as MP4 files and bring them into whatever editor you prefer. Many creators use CapCut for quick social media edits, Premiere for more complex productions, or DaVinci Resolve for color-sensitive work. Runway clips tend to need minimal color correction if your prompts included specific lighting direction, but a light grade rarely hurts.
When cutting Runway-generated clips together, pay attention to motion continuity. If one clip has a slow left-to-right drift and the next has motion going the other direction, the edit feels jarring. Either match motion directions across clips or cut on a beat where the visual disruption feels intentional. Adding a consistent music track underneath also helps smooth over transitions that aren’t quite seamless.
For longer productions, a practical structure looks like this: generate eight to twelve clips from variations of your core prompt, review them all, cut the weakest half, then arrange the remaining clips in an order that tells a visual story. Add a voiceover or text overlay in your editor. Music. Maybe a title card. You’ve got a video.
Advanced Features Worth Exploring Once You’re Comfortable
Once your basic runway ml tutorial experience is behind you and you’re generating confidently, a few advanced tools inside Runway are worth your attention.
Motion Brush lets you paint motion onto specific regions of a generated image, telling Runway which parts of the frame should move and in what direction. It’s remarkably precise for an AI tool and lets you animate foreground elements independently from backgrounds.
Video to Video takes existing footage and reimagines it in a different visual style. You could take a simple walk-and-talk clip and transform it into something that looks like a watercolor painting in motion, or a retro 70s film stock aesthetic. Content creators use this to make otherwise ordinary footage feel distinctive and branded.
Act One is Runway’s motion capture feature that lets you transfer facial expressions and head movements from a webcam recording onto a generated character. It’s early-stage technology, but the potential for animated storytelling content is obvious.
Ready to Actually Start Making Things
The biggest mistake most people make with Runway is spending too long reading about it and not enough time inside it. The platform genuinely rewards experimentation. Your first ten generations will teach you more than any runway video guide can, including this one. Open an account, burn through some free credits on weird prompts, and figure out what the tool does that excites you most.
If you’re using AI video for content creation, runway ai video tools are among the best the industry currently offers. Commit to one focused session of an hour, generate at least a dozen clips, and combine your favorites into something real. That’s how creators go from curious to capable, and it usually only takes one afternoon.