Your Headshot Is Working Against You (And You Don’t Even Know It)
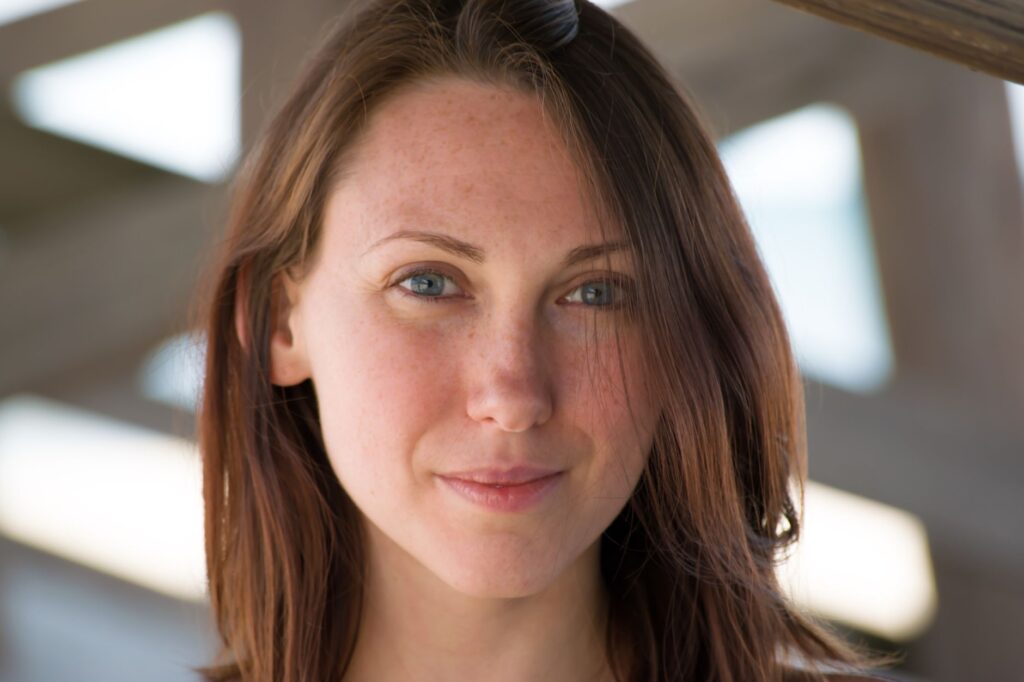
A blurry LinkedIn photo taken at your cousin’s wedding in 2019 is costing you opportunities. The good news? You don’t need to book a photographer, rent a studio, or spend hundreds of dollars to fix it, because AI tools have fundamentally changed what a “professional image” can look like in 2024.
Whether you need a polished profile picture, a video intro for your personal brand, or a presenter avatar for your business content, there’s now an entire ecosystem of AI tools built to help you show up professionally, without the traditional overhead. This guide walks you through exactly how to use them effectively.
Why Traditional Headshots Are Losing Ground
Traditional headshots haven’t disappeared, but their dominance is fading. For starters, they’re expensive. A decent photographer charges anywhere from $150 to $500 for a session, and that’s before you factor in location, wardrobe, and editing fees. For freelancers, early-stage entrepreneurs, and job seekers, that’s a real barrier.
But cost isn’t the only issue. The bigger shift is that static images are simply doing less work than they used to. Platforms like LinkedIn, YouTube, Loom, and even email are increasingly video-first environments. A virtual headshot ai tool that generates a lifelike, animated presenter can outperform a static JPEG in almost every engagement metric.
Think about it from your audience’s perspective. Would you rather read a text bio with a photo, or watch a 60-second video where someone introduces themselves, explains what they do, and actually looks you in the eye? The answer is obvious. That’s where AI professional headshot video tools come in, bridging the gap between the static and the dynamic.
The Main Types of AI Headshot Alternatives Available Right Now
Before diving into specific tools and workflows, it helps to understand the three main categories you’re working with. They serve different purposes, and the best approach often combines more than one.
AI-Generated Still Images
These tools take your existing photos (usually a handful of selfies or casual shots) and transform them into polished, professional-looking headshots. Apps like Aragon AI, HeadshotPro, and Try It On AI fall into this category. You upload 10 to 20 photos, the model trains on your likeness, and within an hour or two, you get dozens of studio-quality images in different outfits, backgrounds, and lighting setups.
The results are genuinely impressive. Most people can’t tell the difference between an AI-generated headshot and one taken in a real studio. For profile pictures, speaker bios, and press pages, these work perfectly.
AI Presenter and Avatar Tools
This is where things get really interesting. Tools like HeyGen, Synthesia, and D-ID let you create a realistic AI avatar based on your own likeness, or choose from a library of pre-built presenter personas. You type a script, and the avatar delivers it on screen, complete with natural lip sync, head movement, and appropriate gestures.
A professional presenter ai can record a video introduction once and then clone that presence across unlimited pieces of content. Product demos, onboarding videos, explainers, sales pitches, you name it. The avatar shows up consistently every single time, regardless of whether you’re having a good hair day or not.
AI Video Intro Generators
Slightly different from full avatar tools, these platforms focus specifically on short, branded video intros. An ai professional video intro typically runs 15 to 60 seconds and introduces who you are, what you do, and what your audience can expect from you. Tools like Pictory, Runway, and even Canva’s AI video features can help you build these quickly with minimal technical skill required.
Step-by-Step: Building Your AI Headshot Alternative from Scratch
Here’s a practical workflow you can follow, even if you’ve never used an AI video tool before.
Step 1: Start with AI-Generated Still Images
Pick one of the image generation platforms mentioned above and upload 15 to 20 photos of yourself. Mix up the angles, lighting conditions, and expressions. The more variety you give the model, the better your outputs will be. Avoid sunglasses, hats, or anything that obscures your face.
Within a few hours, you’ll have a full gallery of headshot alternatives. Choose two or three that feel authentic and match the tone of your brand. Don’t just pick the most flattering one. Pick the one that looks like you on a good day and fits the context, whether that’s corporate, creative, or somewhere in between.
Step 2: Create a Consent Video for Your Avatar
If you want to go beyond still images and create a full AI avatar, most platforms require you to record a short video of yourself speaking naturally. This is called a consent video, and it usually takes five to ten minutes. You’ll read a script provided by the platform, look directly at the camera, and speak clearly.
Lighting matters here more than anything else. Sit near a window with natural light hitting your face, or invest in a basic ring light (they cost around $25 on Amazon). A plain background works best. Once you’ve uploaded this, the platform trains your avatar, which typically takes anywhere from 30 minutes to 24 hours depending on the tool.
Step 3: Write and Record Your AI Professional Video Intro
Now you’re ready to put your headshot alternative ai to work. Write a concise script for your video intro. Keep it under 90 seconds. The structure is simple: who you are, what you do, who you help, and what you want the viewer to do next. That’s it.
Paste your script into the platform, select your avatar, choose a background, and hit generate. Your virtual headshot ai presenter will deliver the script in your voice (if you’ve cloned your voice, which platforms like HeyGen support) or in a close approximation. Review the output, tweak the pacing or emphasis using the platform’s editor, and export when you’re happy.
Step 4: Adapt the Output for Different Platforms
One video intro isn’t enough. You’ll want versions optimized for different contexts. LinkedIn favors a professional tone and a 16:9 horizontal format. Instagram and TikTok need vertical 9:16 video. Your email signature might just need a 30-second clip. Most AI video tools let you adjust aspect ratios and trim length without re-recording anything, which saves a huge amount of time.
Choosing the Right Tool for Your Specific Situation
The right platform depends on what you’re actually trying to accomplish. Here’s a quick breakdown:
- For static headshots only: Aragon AI or HeadshotPro. Both are reliable, affordable (usually $25 to $49 for a one-time batch), and produce consistently high-quality results.
- For a full AI avatar with your likeness: HeyGen is currently the market leader for realism and ease of use. Synthesia is better for enterprise use cases with larger teams.
- For quick, template-based video intros: Pictory or Canva’s AI video tools are the most beginner-friendly options and don’t require any avatar creation at all.
- For voice cloning alongside your avatar: HeyGen and ElevenLabs used together give you the most natural-sounding result. ElevenLabs handles voice; HeyGen handles the visuals.
Budget matters too. If you’re just starting out, Canva’s free tier and a one-time headshot batch from HeadshotPro can get you 90% of the way there for under $50. If you’re a professional presenter ai user who’s creating content at scale, a monthly subscription to HeyGen (starting around $29 per month) pays for itself quickly.
Common Mistakes That Make AI Headshots Look Fake
AI tools have improved dramatically, but they can still produce results that look off if you’re not careful. Here’s what to watch for.
Teeth are the biggest giveaway. AI-generated images sometimes produce slightly blurred or oddly shaped teeth. Always zoom in on the mouth area before using any AI headshot publicly. Reject any image where the teeth look melted or asymmetrical.
Background inconsistency is another red flag. If the background has subtle warping or soft blurring that doesn’t match the sharpness of your face, people will sense something is wrong even if they can’t articulate why. Opt for clean, simple backgrounds rather than complex environments.
For video avatars, watch the eye movement. Natural human eye movement includes micro-saccades and occasional blinking patterns. Early AI avatars had a slight “stare” quality that felt unsettling. Most modern tools have solved this, but always preview your generated video at full screen before publishing.
Finally, don’t neglect audio quality if your avatar is using a voice clone. A great visual paired with muddy, robotic-sounding audio undermines everything. Record your consent audio in a quiet room with a decent USB microphone. The $60 you spend on an Audio-Technica ATR2100x will be obvious in the output quality.
Using AI Headshot Alternatives Strategically Across Your Brand
The most effective approach isn’t to replace every touchpoint with AI-generated content. It’s to use AI tools to fill the gaps that budget, time, and geography create. Your LinkedIn profile, your email signature, your Zoom background, your website’s About page, your course platform, your YouTube channel art, all of these can feature a consistent, professional-looking version of you that you created in an afternoon.
Consistency is what builds trust online. When someone encounters your brand across five different platforms and sees the same polished, confident image every time, they’re far more likely to trust you with their attention or their money. That’s the real ROI of investing time into a virtual headshot ai workflow.
Start with one platform, create one strong video intro, and use that as your template for everything else. Once you see how dramatically it upgrades your professional presence, you’ll wonder why you waited so long to try it.