You Don’t Need a Film Crew Anymore
Musicians used to need a director, a cinematographer, a full post-production team, and a budget well north of $10,000 just to produce a halfway decent music video. That era is over. AI has fundamentally changed what’s possible for independent artists, bedroom producers, and even established labels looking to cut costs without sacrificing quality.
Creating an ai music video now takes hours instead of weeks, and the results can genuinely compete with traditional productions. This guide walks you through the whole process, from picking the right tools to exporting a finished product that’s ready for YouTube, Instagram, or wherever your audience lives.
Understanding What AI Music Video Tools Actually Do
Before diving into the workflow, it helps to understand what these tools are actually doing under the hood. Most AI video generators don’t “watch” your song and automatically create a video. They work by generating image sequences or video clips based on text prompts, then syncing those visuals to your audio timeline. Some tools analyze audio frequency and beat data to drive visual motion, which gives you that tight sync between the music and the imagery.
There are three core categories of tools you’ll be working with:
- Text-to-video generators: Tools like Runway ML, Sora (OpenAI), Kling, and Pika Labs let you type a description and generate short video clips. These form the visual backbone of most ai music visuals.
- Audio-reactive visual engines: Platforms like Kaiber and Mootion sync generated imagery directly to your audio’s beat, tempo, and energy levels.
- AI image animators: Tools like Stable Diffusion with AnimateDiff let you generate a still image and then animate it with motion , useful for stylized, artistic looks.
Most finished music videos use a combination of all three. You rarely get everything you need from a single platform.
Planning Your Visual Concept Before You Touch Any Tool
Skipping the planning stage is the fastest way to end up with a visually incoherent mess. Even with the best AI tools, garbage in means garbage out. The prompts you write drive everything, so you need a coherent visual direction before you start generating a single frame.
Start by identifying the mood of the track. Is it melancholic and sparse? Euphoric and kinetic? Dark and industrial? Write down five to ten adjectives that describe the feeling the song creates. Then think about a visual world that matches those adjectives. A track with heavy reverb and slow tempos might suit a foggy coastal landscape with slow-moving waves and desaturated color grading. A high-energy electronic track might call for neon-lit cityscapes, abstract geometric motion, and rapid cuts.
Next, create what’s called a “prompt palette.” This is simply a set of three to five core prompt templates you’ll use consistently across all your generated clips. Consistency in your prompts creates visual coherence in your final video. If half your clips are described as “cinematic film noir” and the other half as “anime watercolor,” the result will look like a random slideshow rather than a unified creative piece.
Write your prompt palette before you open any software. It only takes twenty minutes and it saves hours of regenerating clips that don’t match.
The Best AI Tools for Music Video Creation Right Now
The landscape shifts fast, but as of 2024 and into 2025, a handful of platforms stand out for music video ai creation specifically.
Runway ML (Gen-3 Alpha)
Runway remains the most versatile option for serious creators. Gen-3 Alpha handles complex motion well, maintains character consistency across clips, and accepts both text and image inputs. You can upload a reference image and animate it, which is useful if you want the video to feature a consistent character or artistic style. The free tier is limited, but a $15/month subscription gives most independent artists enough credits to produce a full video.
Kaiber
Kaiber is purpose-built for musicians, which makes it the go-to choice when you want genuine audio-reactive ai visual music. Upload your track, write your visual prompts, and Kaiber analyzes the audio to drive visual transitions and motion intensity. The results sync to your music automatically, which dramatically reduces editing time. Kaiber’s aesthetic leans toward the painterly and surreal, which suits certain genres (indie, folk, ambient, psychedelic) better than others.
Pika Labs
Pika is fast, accessible, and free to start. It excels at short, high-quality clips and handles camera motion controls reasonably well for its price point. The motion tends to be smoother than older tools, and it’s genuinely good for generating b-roll footage that fills gaps between more elaborate generated sequences.
Suno + Runway Combination
If you’re producing original music and video simultaneously, pairing Suno (AI music generation) with Runway lets you create a fully AI-generated music video from scratch, no existing track required. It’s an interesting workflow for experimental projects, though it’s less useful if you’re working with your own original recordings.
Step-by-Step: Building Your AI Music Video From Scratch
Here’s the practical workflow that actually produces results.
Step 1: Prepare Your Audio
Export a clean stereo WAV or high-quality MP3 of your track. Identify the major structural sections: intro, verse, chorus, bridge, outro. Note the timestamps. These sections will guide which visual sequences you assign to which parts of the timeline.
Step 2: Generate Your Core Clips
Using your prompt palette, generate clips in batches. Aim for at least three to four times more footage than you actually need. AI generation is inconsistent; roughly 30-40% of outputs will be unusable due to artifacts, weird motion, or unexpected results. Generating in bulk gives you options to choose from.
For a three-minute music video, you’ll typically need 60 to 90 seconds of strong visual footage after selecting the best takes, since most cuts in a music video run between two and five seconds. That means generating 200-300 individual seconds of raw footage to have enough quality material to work with.
Step 3: Organize and Rate Your Clips
Import everything into a folder structure organized by song section (intro, verse 1, chorus 1, etc.). Rate each clip on a simple 1-3 scale. Only work with your 3-rated clips in the final edit. This sounds tedious, but it makes the editing phase far faster and prevents decision fatigue from killing your momentum.
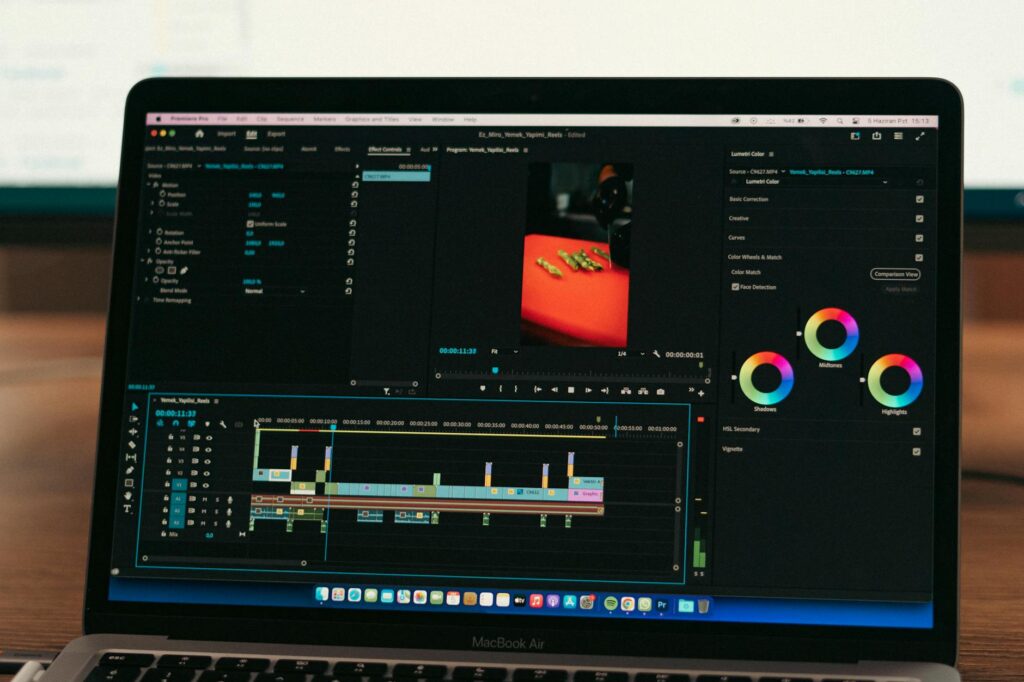
Step 4: Edit to the Track in a Video Editor
DaVinci Resolve is free and excellent for this work. Import your audio, drop it on the timeline, and start placing your clips. Cut to beats, especially on percussion hits. Choruses should get your most visually dynamic clips. Verses can breathe a little more. Don’t over-cut; amateur AI music videos often try to hide weak footage by cutting too rapidly, which just creates chaos.
Use AI-generated footage as your primary layer, then add transitions, color grading, and if needed, some text overlays or lyric animations. CapCut has built-in AI lyric sync tools if you want to add animated lyrics without doing it manually.
Step 5: Color Grade for Consistency
Different AI tools produce footage with different color profiles and tones. Without color grading, your final video will look like it was assembled from ten different movies. Apply a consistent LUT (look-up table) across all your clips in DaVinci Resolve. A single desaturated, cinematic LUT can make wildly different AI outputs look cohesive. This step alone transforms a mediocre AI video into something that looks intentional and professional.
Common Mistakes That Ruin AI Music Videos
Plenty of creators dive into music video ai creation, produce something technically competent, and still end up with a video that feels flat. These are the mistakes that cause it.
- No visual narrative: Even abstract videos need a sense of progression. Don’t just loop similar clips for three minutes. Build toward something, even if it’s just an emotional arc from dark to light.
- Ignoring audio-visual sync: If your visuals don’t respond to the music at all, it’s not a music video, it’s a screensaver. Cut on beats. Let the energy of the visuals match the energy of the track.
- Using only one AI tool: Single-tool videos have a recognizable, repetitive look. Mixing Runway, Kaiber, and Pika outputs gives you visual variety that holds attention.
- Skipping color grading: Already mentioned, but worth repeating. This step is non-negotiable if you want a professional result.
- Over-relying on AI for everything: Adding one or two real-world elements, even a simple shot of hands on a guitar or a face in silhouette, grounds the AI visuals and makes the whole video feel more human.
Budget Realistic Expectations for the Final Result
A solid AI music video produced by someone with moderate experience will cost between $30 and $100 in platform credits, plus your time. Compare that to the $5,000 to $50,000 range for a traditionally produced professional music video, and the value proposition becomes obvious.
You won’t replicate a Kendrick Lamar-level production. But for the independent artist trying to build a YouTube presence, pitch to playlist curators, or simply have a visual component for a single release, an AI music video is more than sufficient. Plenty of creators have crossed 1 million views on YouTube with ai visual music that cost them less than a nice dinner.
Start with one song. Pick a tool (Kaiber if you want audio-reactive visuals, Runway if you want cinematic quality), follow the workflow above, and get something finished and published. Iteration is how you get better, and the only way to iterate is to ship. Your first AI music video won’t be perfect. Your third one will surprise you.