Your Product Deserves Better Than a Screen Recording and a Shaky Voiceover
Most product tutorial videos are painful to sit through. Choppy audio, a presenter who sounds like they’d rather be anywhere else, and a final edit that looks like it was done in 2009. You can do way better, and you don’t need a production studio to pull it off.
AI video tools have genuinely changed what’s possible for small teams, solo founders, and marketers who need to create polished product tutorial AI video content without blowing their entire budget on a videographer. We’re talking realistic AI avatars, auto-generated voiceovers, smart editing, and scripts drafted in minutes. The gap between “homemade” and “professional” has never been smaller.
This guide breaks down exactly how to use these tools from start to finish, so you end up with tutorial content that actually converts viewers into confident users.
Start With the Script, Not the Software
A lot of people jump straight into a video tool and start clicking around. That’s backwards. The script is the foundation. Everything else, the visuals, the pacing, the on-screen text, builds on top of what you write first.
Use an AI writing tool like ChatGPT, Claude, or Jasper to draft your tutorial script. Give it a clear prompt. Something like: “Write a 90-second tutorial script explaining how a first-time user sets up [your product] for the first time. Use simple language, step-by-step structure, and a friendly tone.” The output won’t be perfect, but it’ll give you a solid skeleton to edit from.
Keep your script tight. For most product walkthrough AI content, 60 to 120 seconds per tutorial segment is the sweet spot. People don’t want a lecture. They want to solve their problem and move on. Break complex products into a series of short videos rather than cramming everything into one 10-minute monster.
Before you move on, read the script out loud. If you stumble on any sentence, rewrite it. AI-written scripts can sometimes be technically correct but slightly awkward when spoken. Fix those spots now, not after you’ve already generated the voiceover.
Choosing the Right AI Video Platform for Product Tutorials
Not all AI video tools are built for the same job. Some are great for social clips. Others are better suited for detailed how-to video AI product content. Here’s a quick breakdown of the main players worth considering.
Synthesia
Synthesia is probably the most well-known tool for creating talking-head style tutorials using AI avatars. You paste in your script, choose an avatar (or upload a custom one of yourself), pick a voice, and the platform renders a video of your presenter delivering the script. It’s clean, professional, and surprisingly convincing. Pricing starts around $29 per month for personal use. It’s a strong choice if you want a human face in your tutorials without actually filming yourself.
Loom with AI Features
If you prefer screen recording with a real face, Loom has added solid AI features including auto-generated summaries, filler word removal, and AI-written titles and descriptions. It’s not a full AI video generator, but its AI editing layer makes screen-capture tutorials much faster to produce and more polished to watch. Plans start free, with paid tiers from $15 per month.
HeyGen
HeyGen is a strong competitor to Synthesia, with particularly good avatar realism and a slick video translation feature that can dub your tutorial into other languages. If you’re selling globally, that feature alone is worth the price. It’s also well-suited to AI product guide video workflows because you can layer in screen recordings alongside the avatar presenter.
Descript
Descript takes a different approach. You record yourself (or upload existing footage), and it transcribes the audio so you can edit the video just by editing the text. Delete a word from the transcript and that word disappears from the video. It also has an Overdub feature that lets you fix audio mistakes using a cloned version of your own voice, so you don’t have to re-record an entire take just because you stumbled over one sentence.
For most product tutorial use cases, a combination of two tools works best. One for scripting and one for actual video production. Don’t feel like you need to pick a single platform that does everything.
Building the Visual Layer: Screen Recordings, Slides, and B-Roll
Even with an AI avatar delivering your script, you’ll want to show the product itself. That means screen recordings, annotated screenshots, or short demo clips. This is where the tutorial actually earns its name.
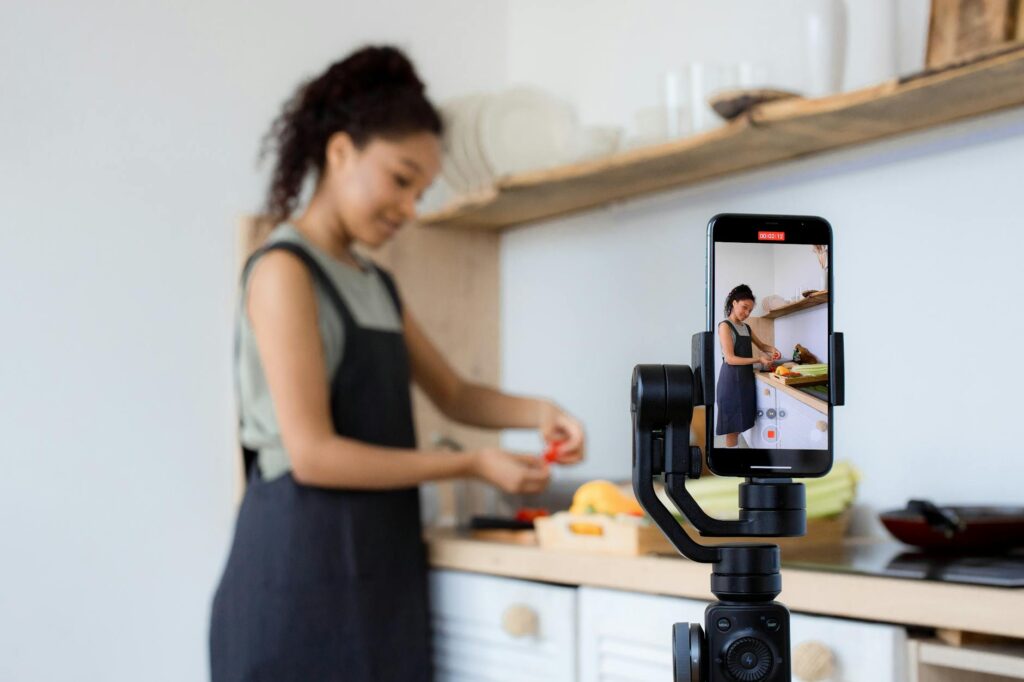
For software products, record your screen using a tool like Loom, Camtasia, or even QuickTime. Keep each recording focused on one specific action. Don’t record a 15-minute session and try to edit it down. Record individual tasks, clicking a button, filling in a form, navigating to a feature, and treat each one as its own clip.
AI tools like Tella and Screenflow can auto-zoom to your cursor, add smooth transitions, and flag long pauses for trimming. These small automation touches make a big difference to the final product, especially if editing video isn’t your strongest skill.
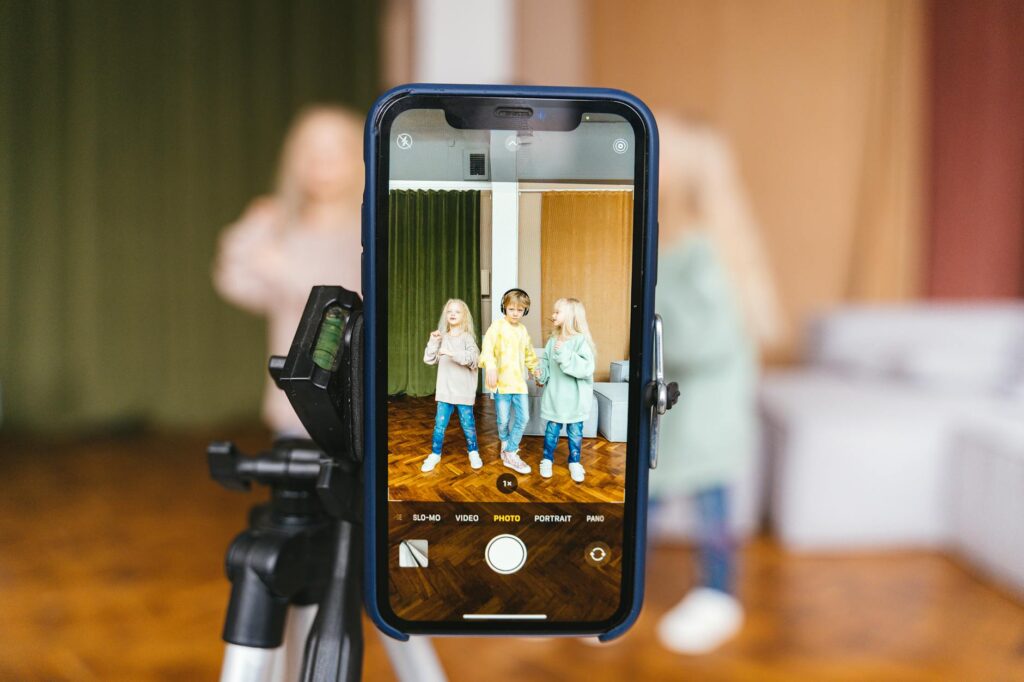
For physical products, use your phone. Modern smartphone cameras shoot more than good enough footage for tutorial content. Shoot in good natural light, keep the product steady (a $15 ring stand works fine), and aim for clips of 5 to 15 seconds each. You’ll layer these into your AI-generated video in the editing stage.
Tools like Runway ML and Pika can even generate short B-roll clips from text prompts, which is useful when you need generic environment shots or transitional visuals and don’t have time to film them yourself.
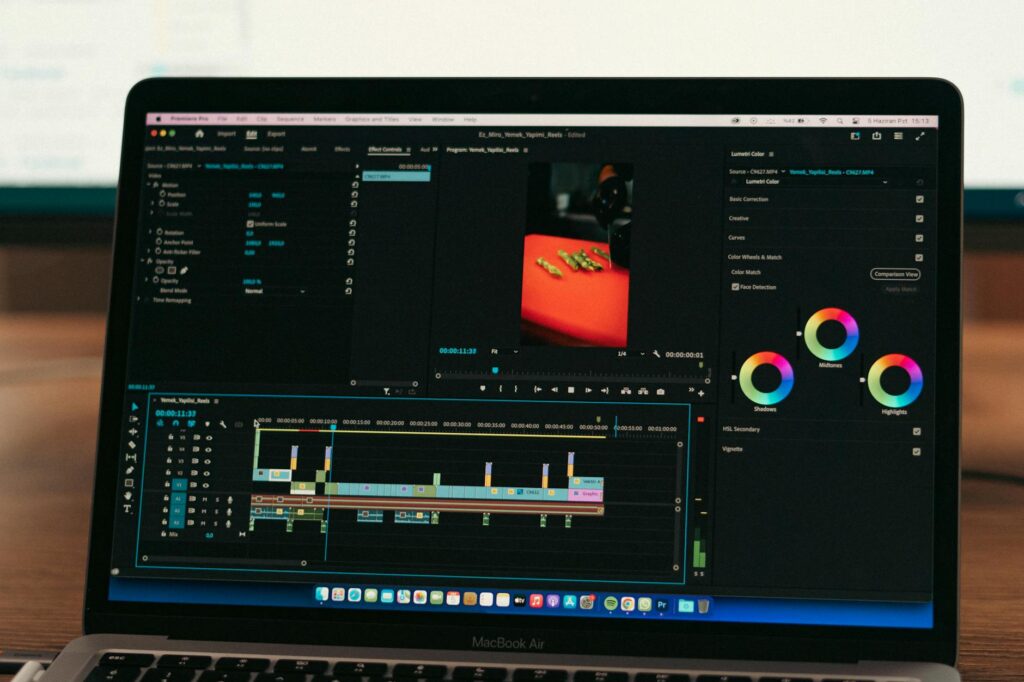
Putting It All Together: AI Editing and Assembly
Once you have your script rendered, your avatar video generated, and your screen or product recordings captured, it’s time to assemble everything. This is where tutorial content AI really shines, because the editing tools have gotten genuinely smart.
Adobe Premiere Pro now includes AI-powered features like auto-reframe, audio enhancement, and smart scene detection. If you’re already in the Adobe ecosystem, these features save serious time. But if you want something simpler, tools like Kapwing, InVideo, and CapCut offer browser-based or lightweight desktop editors with AI auto-captioning, background removal, and template-based layouts.
Auto-captions are non-negotiable. Roughly 85% of social media video is watched without sound, and a significant portion of product tutorial viewers on YouTube and embedded help pages will also have their volume low or off. Use AI-generated captions and then spend five minutes reviewing them for accuracy. AI transcription is very good but not perfect, especially with product names, acronyms, or technical terms.
Keep your editing structure simple and consistent across videos in your series:
- Open with a one-sentence summary of what the viewer will learn
- Walk through the steps with on-screen annotations where needed
- Use a brief recap at the end (10 to 15 seconds is plenty)
- Add a clear call to action, whether that’s a link, a next video, or a signup prompt
Consistency matters here. When someone watches your second or third tutorial, they should immediately recognize the format. That familiarity builds trust faster than any fancy transition effect ever will.
Optimizing Your Product Walkthrough AI Videos for Discovery
Creating a great video is only half the job. You need people to actually find it. Whether you’re hosting on YouTube, embedding on your site, or publishing inside a help center, a few small steps dramatically improve visibility.
Write descriptive titles that match what someone would actually type into a search bar. “How to Set Up Your Account in Under 2 Minutes” beats “Onboarding Tutorial #3” every single time. Use your AI writing tool to generate five or six title variations and pick the most natural one.
Write a real video description. Don’t leave it blank or paste in a lazy one-liner. Describe what the video covers, include timestamps for each step if the video is longer than two minutes, and naturally include terms like “product walkthrough AI,” “how-to guide,” or whatever fits the specific topic. Don’t keyword-stuff. Just write a useful description the way you’d write a helpful paragraph for a friend.
For your website or help center, add a transcript below the embedded video. Search engines can’t watch video, but they can index text. A transcript also makes your tutorial accessible to users who are deaf or hard of hearing. Most AI video platforms can export a transcript automatically, so there’s no excuse to skip this step.
Iterate Fast: Use Analytics to Improve Your Next Video
One advantage AI-powered production gives you is speed. When a traditional video takes a week to produce, you’re reluctant to redo it if something isn’t working. When your next product tutorial AI video takes three hours to make, you can actually afford to experiment and iterate.
Watch your analytics. YouTube Studio, Wistia, and most embed players show you average view duration and drop-off points. If 70% of viewers leave at the 45-second mark, something happened at 45 seconds that lost them. Go back to that spot, figure out what it is (usually a slow section, a confusing step, or a jarring audio change), and fix it in the next version.
Also collect direct feedback. A simple follow-up email or in-app prompt asking “Did this tutorial help you complete the task?” gives you qualitative data that drop-off charts can’t. Combine both and you’ll improve with every video you publish.
The best product tutorial creators aren’t necessarily the ones with the biggest budgets or the fanciest equipment. They’re the ones who ship consistently, pay attention to what’s actually working, and keep making small improvements. AI tools give you the speed to do exactly that. Start with one tutorial, nail the workflow, and build from there.