You Don’t Need a Camera, a Studio, or a Film Degree Anymore
The barrier to making professional YouTube content has essentially collapsed. With the right AI tools, you can go from a blank document to a fully produced, narrated, and edited YouTube video without ever touching a camera or hiring a single freelancer.
That’s not hype. That’s the reality of what’s available right now, and creators who understand how to use these tools are building channels that generate real audiences and real income. If you’re still waiting on the “right moment” to start your channel, the tools have already arrived. The only thing missing is your strategy for using them.
This guide walks through every stage of youtube video ai creation, from the initial idea all the way to a finished upload-ready file. Each stage has dedicated tools, and knowing which ones to use at which step will save you hours of frustrating trial and error.
Start With the Script: Where AI Does Its Best Work
Everything starts with a script. A weak script means a weak video, no matter how polished the visuals look. Fortunately, this is exactly where AI tools are strongest right now.
ChatGPT, Claude, and Gemini can all generate solid first-draft scripts when you give them the right inputs. Don’t just type “write me a YouTube script about coffee.” That produces generic, forgettable content. Instead, feed the AI a specific angle. Tell it your target audience, the video length you’re aiming for, the tone you want (conversational, authoritative, entertaining), and one concrete argument or insight you want the video to build around.
For example: “Write a 7-minute YouTube script for beginner home baristas who want to understand why their espresso tastes bitter. Use a conversational tone, include one surprising fact about extraction chemistry, and structure it with a hook, three main points, and a CTA to subscribe.” That prompt produces something usable. The generic prompt produces filler.
Once you have the draft, spend time editing it yourself. AI scripts tend to lack personality and specific details. Add your opinions, replace vague phrases with concrete numbers or examples, and cut anything that sounds robotic. A script that’s 70% AI and 30% human editing will almost always outperform one that’s 100% either.
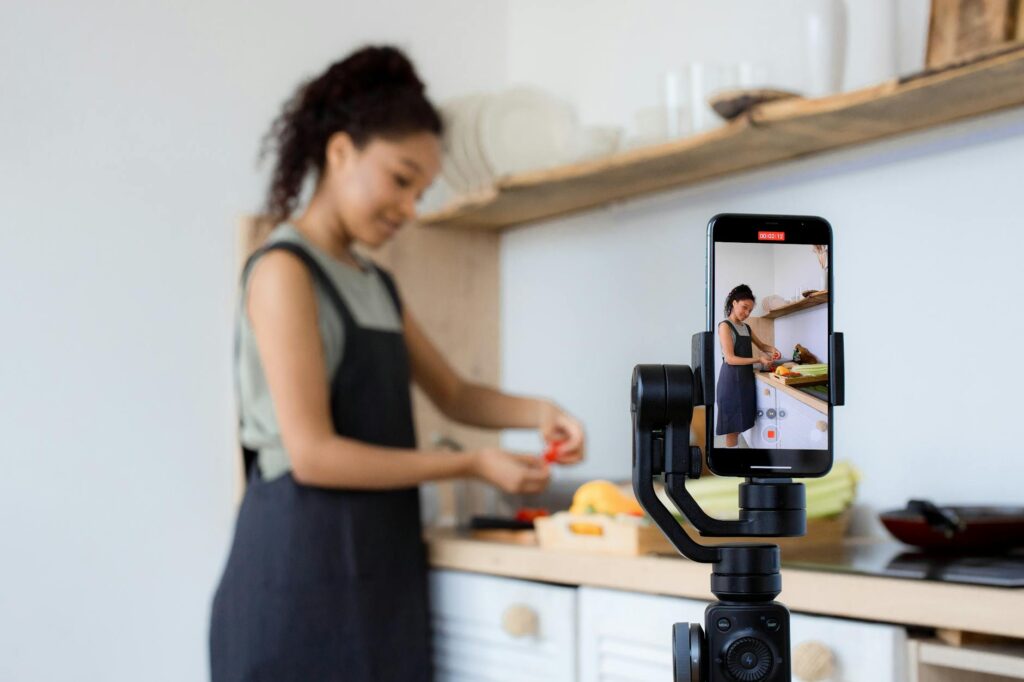
Voiceovers Without a Microphone: AI Narration Has Gotten Surprisingly Good
Two years ago, AI-generated voiceovers sounded like GPS navigation. That’s no longer true. Tools like ElevenLabs, Murf, and PlayHT now produce voices that are genuinely difficult to distinguish from human recordings, especially when you’re playing a video rather than listening in isolation.
ElevenLabs is currently the gold standard. Their “multilingual v2” model handles pacing, emphasis, and natural pauses better than anything else on the market. You can clone your own voice if you want to eventually move toward a hybrid approach, which many creators do once their channel gains traction.
When you paste your script into these tools, pay attention to punctuation. Commas and periods control pacing more than you’d expect. If a sentence sounds rushed, add a comma. If a paragraph feels monotone, break it into shorter sentences with more natural pauses. Most platforms also let you insert pause tags or adjust pronunciation on specific words, which is worth using for technical terms or names.
For creators who want to keep costs down, Microsoft’s Azure Neural Voices (available through some free tiers) and Google’s WaveNet voices offer decent quality at lower price points. They won’t match ElevenLabs, but they’re far beyond the robotic era of text-to-speech.
Visuals: Choosing Between Stock Footage, AI Generation, and Faceless Slideshow Formats
This is the stage where most first-time creators get stuck. You have a script and a voiceover, but now what do you actually show on screen? There are three main paths, and each suits different types of content.
Using Stock Footage Libraries
For informational, educational, or news-adjacent content, stock footage is often the fastest and most professional option. Pexels and Pixabay offer completely free high-resolution video clips. Storyblocks and Envato Elements operate on subscription models and offer far larger libraries with more specific content.
The workflow here is straightforward. Take your script, break it into visual segments, and search for clips that match each section. A script about productivity might use clips of desks, notebooks, timers, and people working. It’s not glamorous, but it works, and audiences who are engaged with the content don’t nitpick B-roll as much as creators fear.
AI-Generated Video With Tools Like Runway and Pika
If you want something that looks genuinely original, AI video generation tools are becoming practical for YouTube use. Runway ML’s Gen-3 and Pika Labs can produce short video clips from text prompts or still images. The clips typically run 4-10 seconds, so you’ll need several to cover even a minute of narration, but stitched together with smooth transitions they can look compelling.
The key limitation right now is consistency. Getting two AI-generated clips to look like they’re from the same world, with the same character or environment, is still difficult. That’s why most creators using Runway or Pika treat it as accent footage rather than a primary source. Use it for abstract visuals, intros, or stylized sequences, not for sequences that require narrative continuity.
Presentation-Style and Animated Text Videos
For educational content especially, a well-designed slide-based or animated text video performs just as well as footage-heavy productions, sometimes better because the information is easier to follow visually. Tools like Canva, Descript, and InVideo let you build these formats quickly with templates that look far better than anything you’d build from scratch.
InVideo in particular is worth highlighting for anyone trying to ai create youtube videos with minimal effort on the visual side. Their platform connects AI script generation, template selection, and voiceover options in one interface. It’s not the most flexible tool, but the speed is hard to argue with when you’re just starting out.
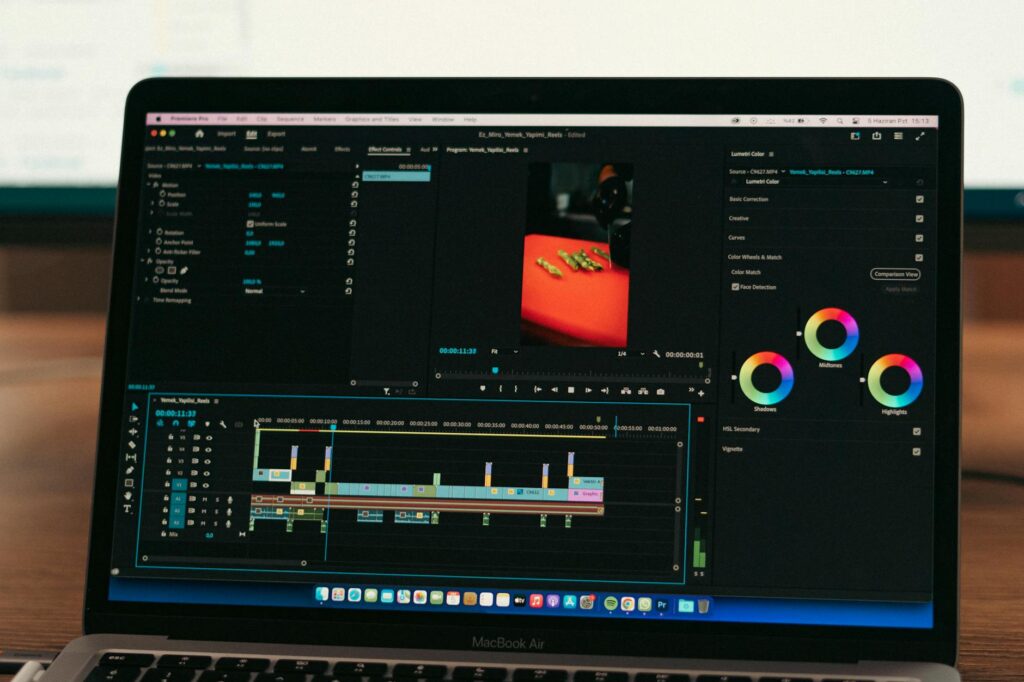
Editing and Assembly: Bringing Everything Together
Once you have your footage or visuals and your voiceover file, you need to assemble them into a final video. This is the step many beginners overcomplicate.
CapCut is arguably the most beginner-friendly option right now, and its free desktop version includes AI-powered auto-captioning, background removal, and automatic beat-sync for music. For ai youtube content creators who aren’t comfortable in traditional editing software, CapCut gets you 80% of the way to a professional result without a learning curve.
DaVinci Resolve is the professional alternative. It’s free, it’s powerful, and it’s the software that actual film editors use. The learning curve is steeper, but if you’re planning to build a serious channel, the investment in learning Resolve pays dividends. Their cut page is specifically designed for fast assembly edits, which is exactly the workflow you’re using when you make youtube videos with AI-sourced assets.
Whichever editor you use, follow these basic assembly principles:
- Sync your visuals to the voiceover first, then add music underneath
- Keep B-roll cuts short, rarely more than 5-7 seconds per clip, to maintain pacing
- Add captions using auto-generated subtitles and then manually correct errors
- Use royalty-free music from YouTube Audio Library, Epidemicsound, or Pixabay Music at a volume where it supports without distracting (usually around 10-20% of voiceover volume)
- End with a clear visual call to action, not just a verbal one
Thumbnails and Titles: The Part Most Creators Rush and Regret
No matter how good your video is, a weak thumbnail will tank its performance. YouTube is a visual search engine, and your thumbnail is the ad for your content. Roughly 90% of top-performing YouTube videos use a custom thumbnail rather than an auto-generated frame from the video.
Canva has AI-assisted thumbnail templates that work well for most niches. Alternatively, Adobe Firefly and Midjourney can generate striking background images that you then add text to in Canva or Photoshop. The principle for an effective thumbnail is simple: one clear subject, large readable text (if you use any), and strong contrast. Three competing elements of equal size is the most common thumbnail mistake.
For titles, use a tool like vidIQ or TubeBuddy to check search volume before finalizing. AI title generators exist, but frankly the better approach is to research titles manually using these keyword tools and then use AI to generate five or six variations on a strong core concept. You pick the winner, not the algorithm.
The Full Pipeline, Simplified
To make this concrete, here’s how a complete youtube from scratch ai workflow actually looks in practice:
- Step 1 (Script): Use ChatGPT or Claude with a detailed prompt, then edit manually for personality and accuracy
- Step 2 (Voiceover): Paste the edited script into ElevenLabs, adjust pacing with punctuation, export the audio file
- Step 3 (Visuals): Source stock clips from Pexels or Storyblocks that match each script section, supplement with AI-generated clips for style moments
- Step 4 (Assembly): Sync audio to visuals in CapCut or DaVinci Resolve, add captions, add background music
- Step 5 (Thumbnail and Title): Design in Canva using strong contrast and a single focal point, validate title keyword with vidIQ
- Step 6 (Upload): Write a keyword-rich description using AI assistance, add chapters using timestamps, and schedule or publish
That whole pipeline, once you’ve done it twice and know the tools, takes between three and five hours per video. Compare that to traditional production timelines and the advantage becomes obvious.
The Honest Reality About What AI Can and Can’t Do for Your Channel
AI handles production. It doesn’t handle strategy, taste, or differentiation. Two creators can use identical tools and produce wildly different results based on the quality of their ideas and how well they understand their audience. The tools are now democratized. The edge still comes from thinking clearly about what your audience actually needs and delivering it in a way that’s more useful or more interesting than what already exists.
Don’t use these tools as shortcuts to churn out meaningless content. Use them as a production infrastructure that lets you focus your human energy on the parts that actually matter: picking the right topics, bringing genuine insight, and building a relationship with viewers over time.
Start with one video. Pick a topic you actually know something about, run it through this pipeline, publish it, and study the analytics. The feedback loop you’ll build from one real published video is worth more than any amount of planning. Your first video won’t be perfect, but it’ll be finished, and finished beats perfect every time when you’re building something from nothing.