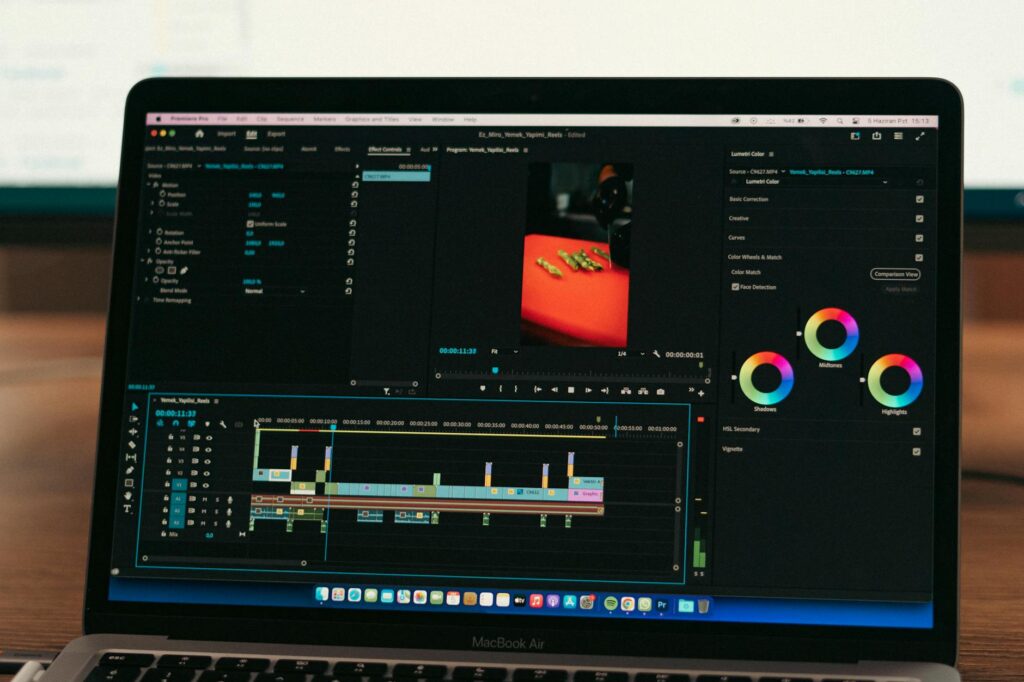
CapCut AI Is Changing How Creators Edit Video (Here’s How to Use It)
If you’ve spent hours manually trimming clips, hunting for the right music, or struggling to add captions, CapCut AI is about to make you feel like you’ve been doing things the hard way. This tool has quietly become one of the most powerful free video editors available, and its AI features are genuinely impressive for both beginners and experienced creators.
CapCut started as a simple mobile editing app from ByteDance (the company behind TikTok), but it’s grown into a full-featured platform with a desktop version, a web editor, and a growing suite of AI-powered tools. Whether you’re editing short-form content for social media or longer videos for YouTube, knowing how to use CapCut AI effectively can cut your editing time in half. Possibly more.
Getting Started: Setting Up CapCut Before You Edit
Before you dive into any CapCut AI editing, you need to pick the right version. CapCut is available as a mobile app (iOS and Android), a desktop application for Mac and Windows, and a browser-based editor at capcut.com. The desktop and web versions offer more advanced AI features, so if you’re serious about video editing, start there.
Download the desktop app or open the browser version and create a free account. A basic CapCut account gives you access to most of the AI tools, though some premium features sit behind a CapCut Pro subscription, which runs around $7.99 per month. For most creators just getting started, the free tier is more than enough to explore.
Once you’re logged in, click “New Project” and import your footage. CapCut supports most major video formats including MP4, MOV, and AVI, so compatibility isn’t usually an issue. Drag your clips into the timeline at the bottom and you’re ready to start editing.
Auto Captions: The AI Feature That Saves the Most Time
Honestly, if you only use one AI feature in CapCut, make it auto captions. Adding subtitles manually is one of the most tedious parts of video editing, and CapCut’s AI handles it in under a minute for most videos.
Here’s how to use it: with your clip on the timeline, click on the “Text” tab in the left sidebar. Select “Auto Captions,” choose your spoken language, and hit “Generate.” CapCut AI will transcribe your audio and place timed captions directly onto the video. The accuracy is surprisingly good, reaching around 90 to 95 percent accuracy on clear speech with minimal background noise.
After generation, you can edit individual words by clicking on the caption blocks in the timeline. You can also adjust font, size, color, and animation style. For TikTok and Reels creators especially, this feature is a game-changer. Captions have been shown to increase watch time significantly, and this process that used to take 20 to 30 minutes now takes about two.
CapCut AI Script-to-Video: Turn Text Into a Full Edit
One of the more impressive AI video edit CapCut features is the Script to Video tool. This isn’t just for polished production studios either. Solo creators, small business owners, and marketers are using it to generate quick video content from plain text.
To find it, go to the main CapCut dashboard and look for “AI Video” or “Script to Video” in the tools section (exact placement may vary slightly by version). Paste in your script or a topic idea, and CapCut’s AI will generate a video complete with stock footage, music, and captions that match your text.
The output won’t always be perfect. You’ll often want to swap out some stock clips for your own footage, and the pacing might need adjustment. But what you get is a solid rough cut in minutes rather than hours. Think of it as a starting point, not a finished product. It’s particularly useful when you need to produce a high volume of content and can’t afford to build every single video from scratch.
AI Background Removal: No Green Screen Required
Removing backgrounds used to require either a physical green screen or expensive software. CapCut AI does it automatically, and it works better than you’d expect on footage with clear subject-background contrast.
To use it, add your clip to the timeline, click on the clip to select it, then go to the “Video” panel on the right side. You’ll see a “Remove Background” option. Click it and let the AI process the clip. For clean shots with good lighting and a relatively stationary subject, the results are clean and usable. Busier backgrounds or fast movement may produce some edge artifacts, but for most talking head videos and product shots, it performs well.
Once the background is removed, you can place any image, solid color, or video clip on a lower layer to create a custom background. This is especially popular for YouTube thumbnails, promotional clips, and branded content.
Smart Cutout and Auto Reframe for Multiple Formats
Two more features worth knowing about in your CapCut tutorial AI journey are Smart Cutout and Auto Reframe.
Smart Cutout works similarly to background removal but lets you isolate a specific subject and use it across your edit, like cutting a person out to overlay onto B-roll or adding motion graphics around them. It’s found in the same “Video” panel and works with a single click.
Auto Reframe is a time-saver for creators publishing across multiple platforms. You shoot in 16:9 landscape format for YouTube, but then you also want a 9:16 version for TikTok and a 1:1 square for Instagram. Doing that manually means repositioning your subject in every single clip. Auto Reframe uses AI to detect the main subject of each clip and automatically keeps it in frame as it resizes the video. Find it under “Export” settings or in the edit panel depending on your version.
This feature alone is worth learning if you repurpose content across platforms. It’s not 100 percent flawless on highly dynamic footage, but it handles the majority of talking head and interview-style content beautifully.
AI Music and Sound: Matching Audio to Your Mood
Audio is half the experience of any video, and CapCut AI has tools to help here too. Under the “Audio” tab, you’ll find an option to explore AI-recommended music that matches the mood or style of your video. CapCut analyzes the pacing and content of your footage to suggest tracks from its royalty-free library.
You can also use the “Auto Beat Sync” feature, which automatically syncs your cuts to the beat of a chosen music track. For highlight reels, travel videos, or any montage-style content, this feature produces results that look intentional and polished without requiring you to manually time every single cut.
One thing to keep in mind: while many tracks in CapCut’s library are royalty-free for use on social media platforms, always double-check the licensing terms if you’re planning to monetize content on YouTube. Some tracks have restrictions, and missing this can cause copyright claims down the line.
Text-to-Speech and AI Voiceover Options
If you’re not comfortable recording your own voiceover, or you simply need a quick narration for a video, CapCut’s Text to Speech feature is genuinely useful. Navigate to the “Text” tab, add a text element, then look for the speaker icon or the “Text to Speech” option. Type in your script and choose from a range of AI voices in multiple languages and accents.
The voices have improved significantly over the past couple of years. They’re not indistinguishable from a real human, but for educational content, explainers, or informational videos, they’re completely serviceable. There are even expressive options that add more natural inflection and emotion to the delivery.
This is one of those features that makes capcut ai editing genuinely accessible to people who have always wanted to create video content but felt held back by not having “the right voice” or recording setup.
Exporting Your Finished Video the Right Way
You’ve used the AI tools, you’ve made your edits, now it’s time to export. Click “Export” in the top right corner. You’ll see options for resolution (up to 4K on supported plans), frame rate, and format. For most social media content, 1080p at 30fps is the sweet spot between quality and file size.
CapCut also lets you export directly to TikTok, which makes sense given the shared company ownership. For other platforms, export the file locally and upload it manually. The export process is fast, and for a 3 to 5 minute video, you’re typically looking at under two minutes of processing time on a decent machine.
Making the Most of CapCut AI as Your Editing Workflow
Here’s the practical takeaway: the best way to approach CapCut AI isn’t to use every feature on every video. Pick two or three that solve your biggest pain points and build them into a consistent workflow. For most creators, that means auto captions for every video, auto reframe when repurposing content, and background removal when you need a clean, branded look.
As you get comfortable with those, layer in the Script to Video tool for faster ideation and the beat sync feature when you want your edits to feel more dynamic. The more consistently you use CapCut AI, the more natural the workflow becomes, and the less time you’ll spend on the mechanical parts of editing that eat into your creative energy.
If you haven’t already, download CapCut, open a new project with your last few minutes of footage, and run it through the auto captions feature. That single step alone will show you what’s possible. Once you see how much time it saves, you’ll want to explore everything else this platform has to offer.