You’ve got an idea, a deadline, and zero time to sit through a week-long video editing crash course. That’s exactly the problem InVideo AI was built to solve, and after spending serious time with the platform, it’s fair to say it delivers in ways most AI tools simply don’t.
This invideo ai guide covers everything from setting up your first project to exporting a polished, share-ready video. Whether you’re a content creator, marketer, educator, or small business owner, you’ll walk away knowing exactly how to use invideo ai to cut your production time dramatically without sacrificing quality.
What InVideo AI Actually Does (And Why It’s Different)
Before diving into the how-to, it helps to understand what separates InVideo from the crowded field of video tools. Most editing platforms hand you a blank timeline and expect you to figure it out. InVideo AI flips that model. You type a prompt, describe what you want, and the platform generates a structured video complete with stock footage, voiceover, music, and text overlays.
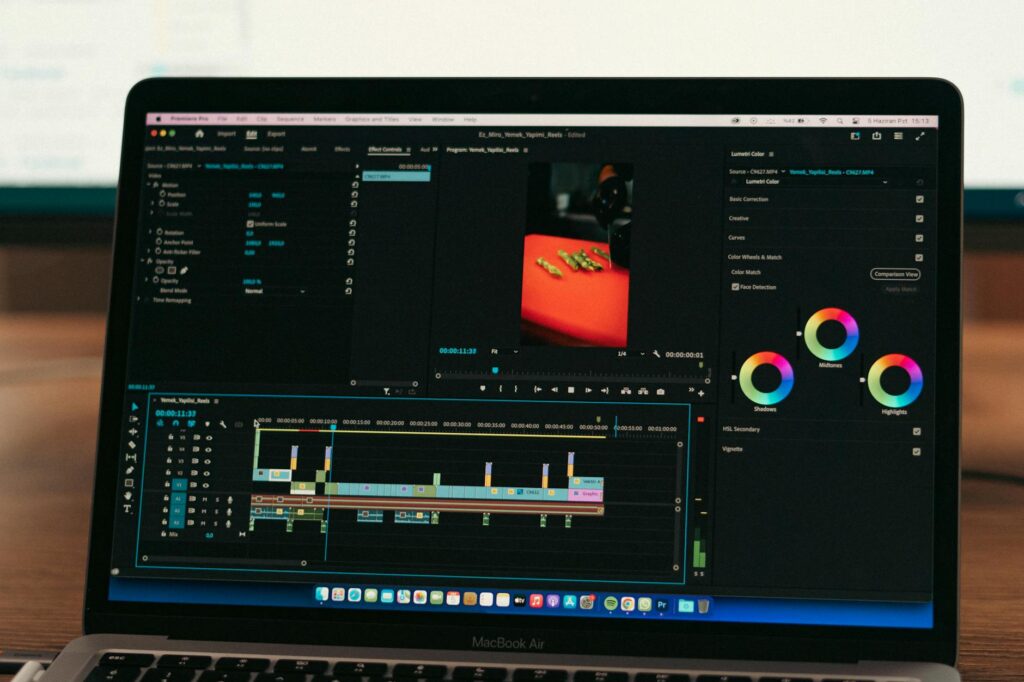
Think of it less like Premiere Pro and more like having a junior video producer who works at superhuman speed. You’re not clicking through menus to trim clips. You’re directing the output through conversation and iteration. That shift in approach is what makes invideo video creation accessible to people who’ve never touched a timeline in their lives.
The platform runs entirely in your browser, which means no downloads, no compatibility headaches, and no storage drain on your local machine. It pulls from a library of over 16 million stock assets, includes text-to-speech voices in multiple languages, and supports exports up to 4K resolution depending on your subscription tier.
Setting Up Your Account and Choosing the Right Plan
Getting started takes about four minutes. Head to invideo.io, click “Get Started,” and create a free account using your email or Google credentials. The free tier lets you create up to 10 minutes of video per week and exports with an InVideo watermark. For most serious creators, the paid plans are worth it. The Business plan runs around $30 per month and removes watermarks, unlocks premium assets, and dramatically increases your weekly export limit.
Once you’re in, you’ll land on the dashboard. It’s clean, not intimidating. You’ll see two primary creation paths: the AI-powered workflow (what this article focuses on) and the template-based editor for those who want more hands-on control. Click “AI Video” to enter the prompt-driven experience.
Writing a Prompt That Actually Works
This is where most first-timers stumble. They type something like “make a video about fitness” and then feel underwhelmed by the generic result they get back. Good prompts are specific. They include audience context, tone, length, and purpose.
Compare these two prompts:
- Weak: “Make a video about healthy eating.”
- Strong: “Create a 90-second YouTube video for busy working parents explaining five quick, affordable meal prep tips. Use an upbeat, encouraging tone with energetic background music.”
The second prompt gives the AI genuine direction. It knows who it’s talking to, what the video needs to accomplish, and roughly how long it should be. InVideo’s AI generates a script, selects matching footage, and structures scenes around that input. You’ll get a dramatically better draft to work from.
You can also specify the platform you’re creating for. Tell the AI you want a vertical video for Instagram Reels and it’ll format the aspect ratio accordingly. That kind of built-in awareness is a genuine time saver.
Navigating the AI Editor After Generation
Once InVideo processes your prompt (usually 30 to 90 seconds), you’ll see a segmented video draft in the editor. Each scene is presented as a separate block with its footage, on-screen text, and voiceover script visible. This is where the invideo ai tutorial experience really picks up.
Editing works through a chat interface on the left side of the screen. If a scene doesn’t look right, you don’t go hunting through menus. You literally type what you want changed. Something like “replace the footage in scene 3 with something showing a family at a dinner table” or “make the intro text bolder and move it to the bottom of the frame.” The AI interprets your instruction and updates the scene in real time.
This conversation-based editing is genuinely useful once you get comfortable with it. You can:
- Swap out individual stock clips by describing what you want
- Rewrite the voiceover script for any scene
- Change the background music genre or energy level
- Add, remove, or reorder scenes
- Adjust text styles, colors, and positioning
If you prefer clicking over typing, the manual editor is also available. Click on any scene block and you’ll get direct access to trim controls, font options, and clip replacements from the asset library. Both approaches work. Most users end up using a mix: AI chat for big structural changes, manual controls for fine-tuning.
Using Your Own Media and Brand Assets
One area where a lot of invideo ai reviews undersell the platform is its flexibility with custom media. You’re not locked into stock footage. You can upload your own video clips, images, logos, and audio files directly into a project.
To upload, look for the “Media” tab in the editor sidebar. Drag and drop your files or browse from your device. Once uploaded, they appear in your personal media library and you can insert them into any scene by typing the instruction into the chat or dragging them in manually.
Branding deserves a mention here. If you’re creating content for a business or consistent personal brand, you can save your brand colors, fonts, and logo in InVideo’s brand kit (available on paid plans). When you generate a new video, the AI can apply your brand settings automatically, which saves a surprising amount of time across multiple projects.
Voiceovers: AI Voice vs. Your Own Recording
The default voiceover in InVideo AI is generated through text-to-speech. The voice quality has improved substantially over the past year. Several of the available voices are genuinely difficult to distinguish from a real human recording at normal listening speed, especially on mobile speakers.
You can browse the voice library by language, gender, and tone. Want something that sounds authoritative and calm for a corporate explainer? There’s a voice for that. Need something energetic and conversational for a social media ad? That’s covered too. Adjusting the speaking speed is also available, which is useful if your script runs a few seconds long.
If you’d rather use your own voice, the process is straightforward. Record your audio externally, upload the file, and replace the AI voiceover in any scene through the media tab. Some creators use a hybrid approach: AI voice for scenes where they don’t have a recording ready, and their own audio for key moments where personality matters. It works better than you’d expect.
Exporting and Sharing Your Finished Video
When your video looks the way you want, hit the “Export” button in the top right corner. You’ll choose your resolution (720p is the free default, 1080p and 4K available on paid plans), and InVideo will render the file. Rendering typically takes two to five minutes depending on the video length and complexity.
After rendering, you can download the MP4 directly or share it via a link. InVideo also integrates with YouTube, allowing you to publish directly from the platform without downloading anything first. For high-volume creators managing multiple clients or channels, that direct publishing option cuts a meaningful step out of the workflow.
One practical note: always preview your full video before exporting. Play it from start to finish with audio on. AI-generated content occasionally produces odd clip selections or slightly awkward voiceover pacing that only becomes obvious when you watch it as a complete piece. A five-minute review pass before export saves you from sharing something that’s 90% great and 10% cringeworthy.
Where InVideo AI Works Best (And Where It Struggles)
Honesty matters in any real invideo ai review. The platform excels at specific formats: explainer videos, social media content, YouTube intros, product overviews, educational clips, and repurposed blog content. If your goal is turning a 1,500-word article into a three-minute video, InVideo is genuinely impressive at that task.
It struggles with highly cinematic content, complex motion graphics, and videos that require precise timing synced to a specific musical beat. Those use cases still need professional editing tools. InVideo isn’t trying to replace DaVinci Resolve or Adobe Premiere. It’s trying to replace the process of staring at a blank canvas for three hours before you’ve made a single creative decision, and at that job, it succeeds consistently.
Roughly 70% of content creators who switch to AI-assisted video tools report that their publishing frequency at least doubles within the first two months. That’s the real value here. Not perfection on the first take, but speed and volume that let you iterate, improve, and stay consistent.
Getting Faster With Every Project
The learning curve for InVideo AI is genuinely short. Most people feel comfortable with the core workflow after two or three projects. By the fifth video, you’ll have a mental library of prompts that work, a feel for which voiceovers suit your content style, and a rhythm for the editing process that makes the whole thing surprisingly fast.
Start with something low-stakes. A quick social media clip, a simple product walkthrough, or a video version of content you’ve already created in another format. Use that first project to get familiar with the interface without any pressure attached to the outcome. Then push into more ambitious projects as your confidence builds.
If you’ve been putting off video content because the learning curve felt too steep or the production time felt too long, this invideo ai tutorial experience is exactly the entry point you’ve been waiting for. Sign up for a free account today, spend 20 minutes with your first prompt, and see for yourself how much ground you can cover before your coffee goes cold.